How-To Install an Awesome Wall Quote Decal
Feb 29th 2016
Happy Sunday Y’all!
For some reason… We really like to blog on Sundays. Its like the day that you get to reflect on the week and kind of go over everything you accomplished (and definitely didn’t accomplish) while relaxing with a glass (or three) of wine.
Okay SO! There are a few different types of decals: Diecut (aka kiss cut), Printed, Wall Murals, etc. But we will get to all of that later. When you purchase a Chromantics wall quote it is technically a Diecutdecal. This means that the vinyl is intricately cut to make an elaborate design, word or pattern. When you receive the decal, it will be kind of sandwiched between the decal backing (which is like a non-stick paper) and a top semi opaque layer which is called the transfer paper or transfer tape. The transfer tape is there to transfer the design from the backing to your wall, mirror or any other smooth surface that you are applying the decal to. Make sure your surface is clean and dust free. If you recently painted your walls, You should wait a few weeks before applying the decal.

Oh p.s. don’t worry…. you will receive instructions and a chromantics squeegee (for application… not for washing windows) when you order!
When you receive your decal it will most likely be rolled up in a cardboard tube with the design facing out.
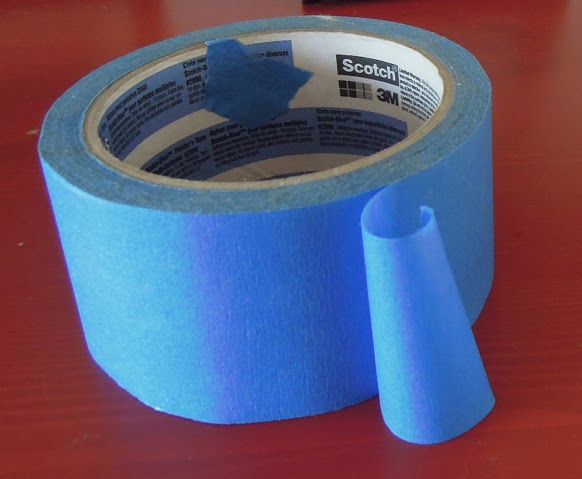
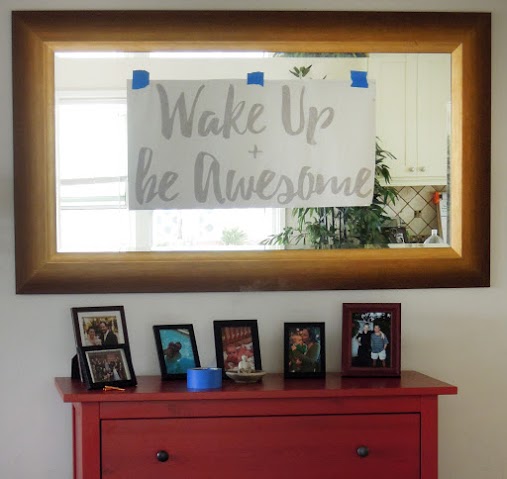
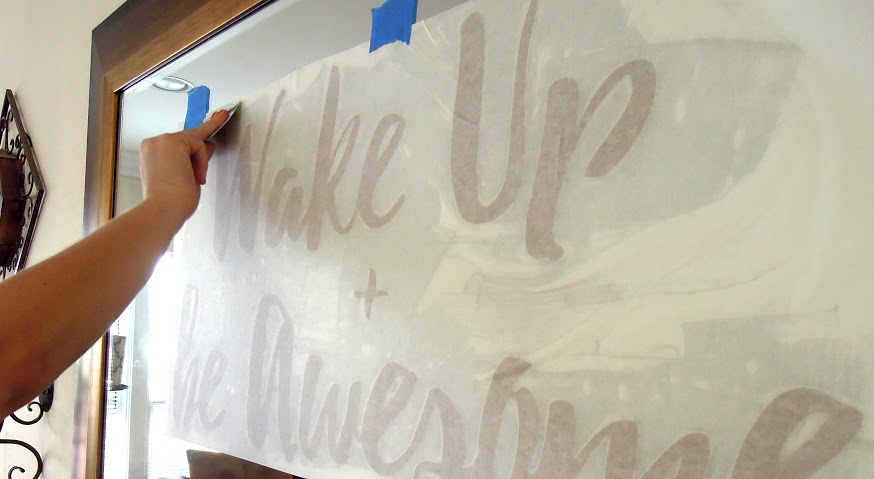
We recommend unrolling the decal allowing it to lay flat for a while to rest. This will relax the curl in the paper and make your life a lot easier when applying to your surface. If you need to…. (and your impatient like we are) you can set books on the corners of the decal to get it to “relax” quicker. Don’t you wish it was that easy for us to relax? LOL Once you have figured out where you want your decal to go (we are applying our “wake up and be awesome” decal) take some measurements to make sure it will not only fit but that it is level, straight & centered. If you have some painters tape around that would be really helpful. Please don’t use duct tape. We always tape up our quotes up with a few pieces (face out) And only apply to the top line of the decal (see below).
We use the tape to keep the image in place and measure the outside edges between the decal and frame of the mirror, also step back and see how it looks… Duh.
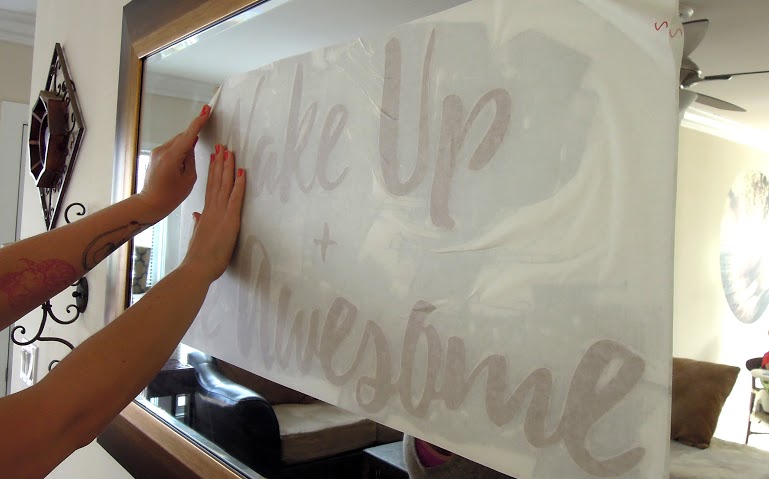
So the decal is up and centered and ready to go! You will notice that the decal goes backing, vinyl, transfer paper
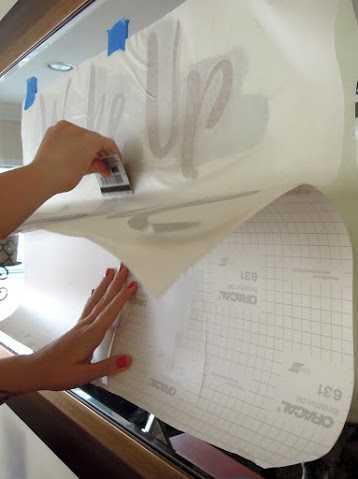
You will want to use your Chromantics squeegee at this point (yay!) You can also use a credit card if you don’t have one or lost ours.. Tear…… We forgot ours, so were using a gift card (whoops!!). Take the squeegee and rub down the decal. You want to do this to push the vinyl on to the transfer tape and away from the backing

Make sure to rub the edges of the letters or the little pieces such as the dot of an i, plus sign, etc. so they stick nicely. Be liberal with the rubbing… This is what makes it easier to apply.
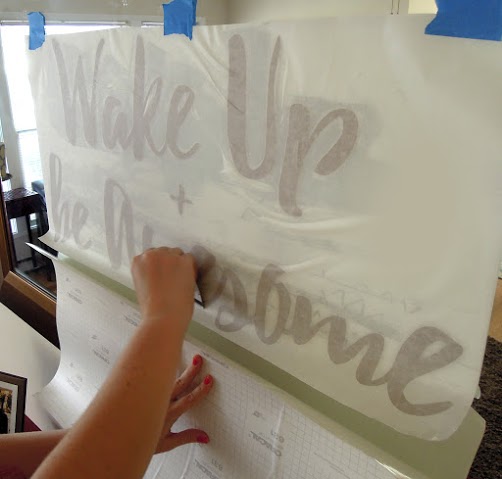
The next step is to peel the backing from behind the decal. Start at the top corner and work towards the center. Ideally you want about 2 to 3 inches peeled back. At this point, slowly pull the backing of the decal down

Do this gently and slowly so the backing doesn’t crease. This is also why we taped the decal up…. With the tape in place the decal shouldn’t move. Continue to pull down the backing slowly and gently while rubbing the top part of decal with the squeegee or card.
This is pushing the vinyl so it adheres to your wall or surface. Do this for the entire decal moving from the top to the bottom
Now the backing should be completely off (the hardest part is over YAY) Now you rub the decal again. Do this all over and especially pay attention to the corners and top part of each vinyl piece.
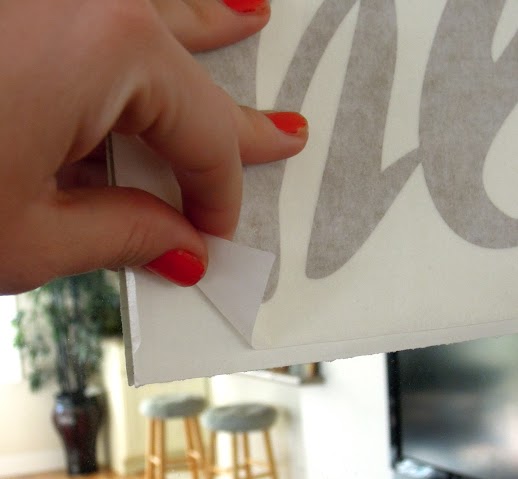
Then you begin to peel back the transfer tape. This is the best part because it reveals the decal (seriously it is so rewarding). Start with the top corners and move down
You can also peel the backing off at an angle for example top right to bottom left…
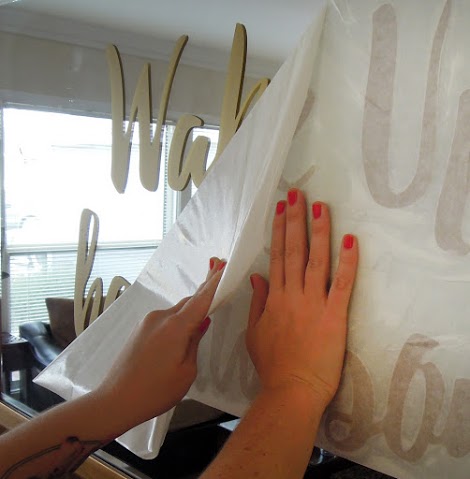
OOOOOOOOOOOOO look at that G O L D !
Do this slowly, The closer your hand is to the wall the easier the peeling is (notice that the transfer paper is almost entirely folded when peeling it back) but you also don’t want to have the transfer tape to stick to itself, so this can be a little tricky. While peeling the transfer tape back you can rub the actual letters down (with your HAND) we dont recommend a sueege with the actual vinyl as it may scratch the surface. Continue to pull the transfer tape back until it is entirely removed. Then your decal is up!!
We always go over the vinyl one more time with our fingers to make sure its good and stuck nicely…. moving from the inside out to make sure we don’t accidentally peel off any pieces. If you keep your transfer tape and backing the decal can (POSSIBLY) be reused; typically this only works with our small decal pieces used for wall patterns. The die cut decals are hard to reuse (while our other decals are solely reusable) But these gold kiss cut decals are way too hard to resist; sometimes we just don’t care if we can reuse them or not… because why would we ever want to take them down?!
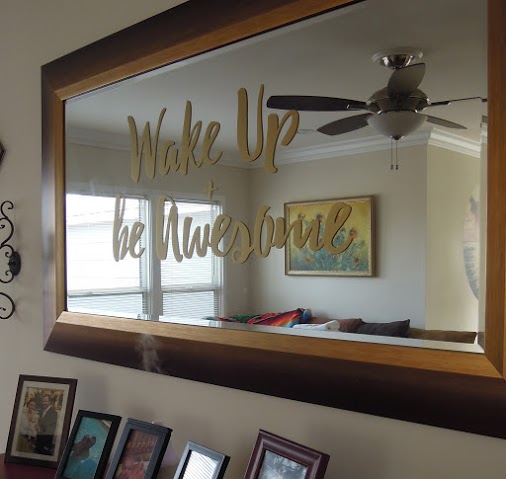
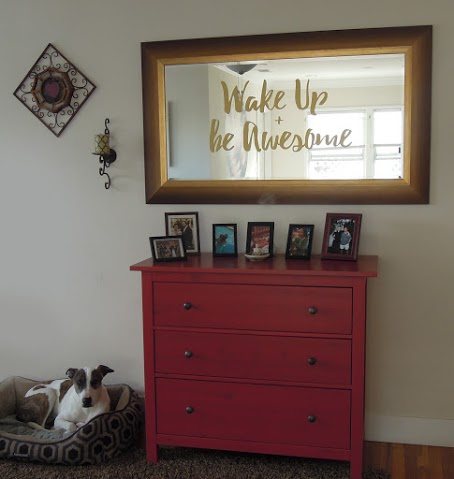
Now step back and look at your decal because you are DONE my friend, done!
Oh and that’s Susie <———– She was our helper during this installation (we recommend having a good friend and a glass of wine to help you out!)
On that note… Don’t forget to follow us on instagram @chromantics to see all of our new fun stuff we have coming out. Have a fabulous week, we love you all!
Xo