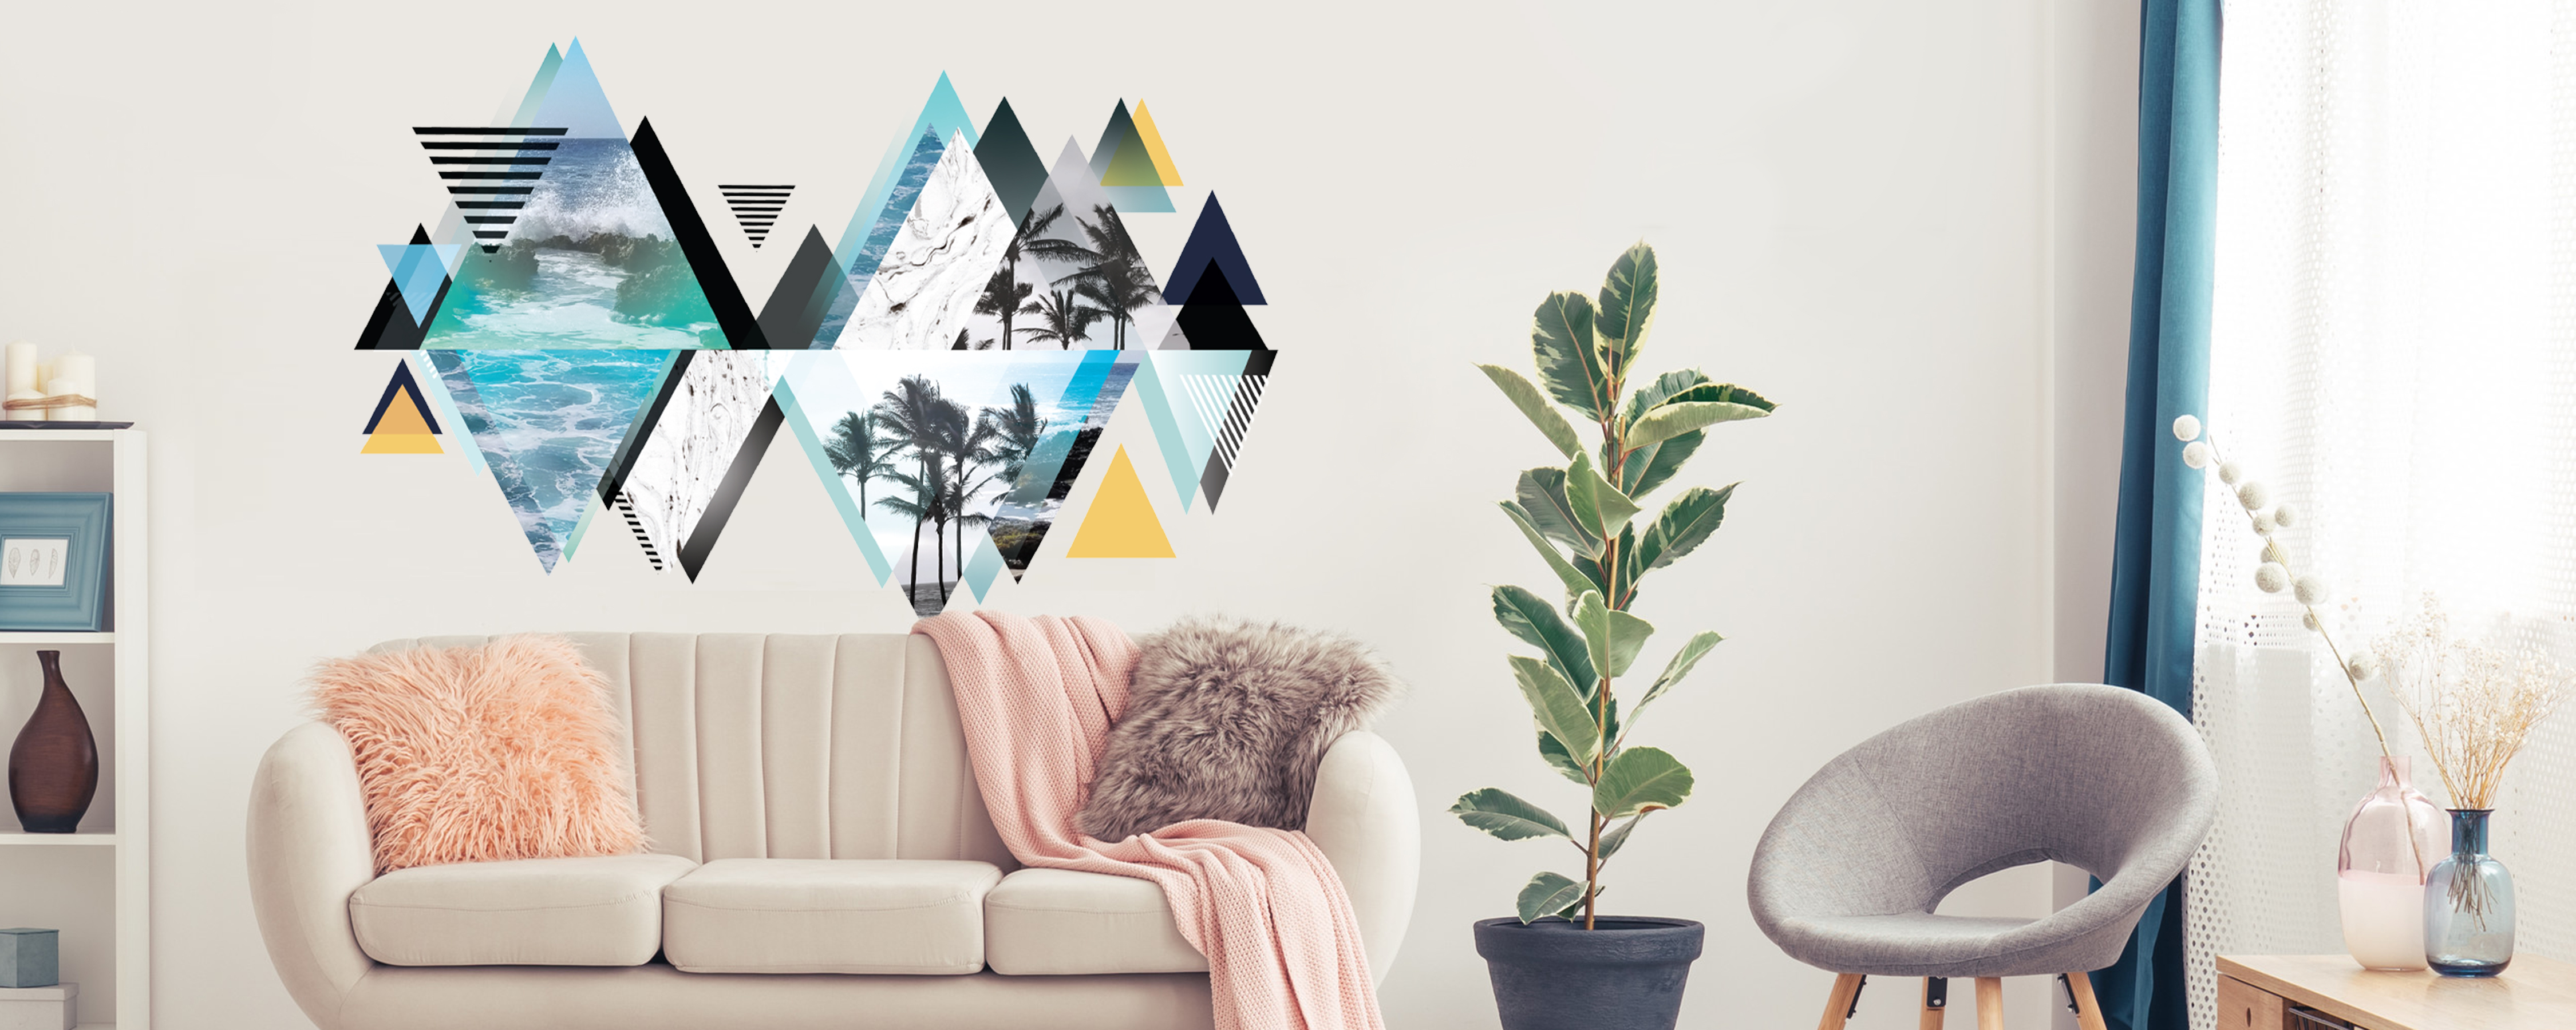
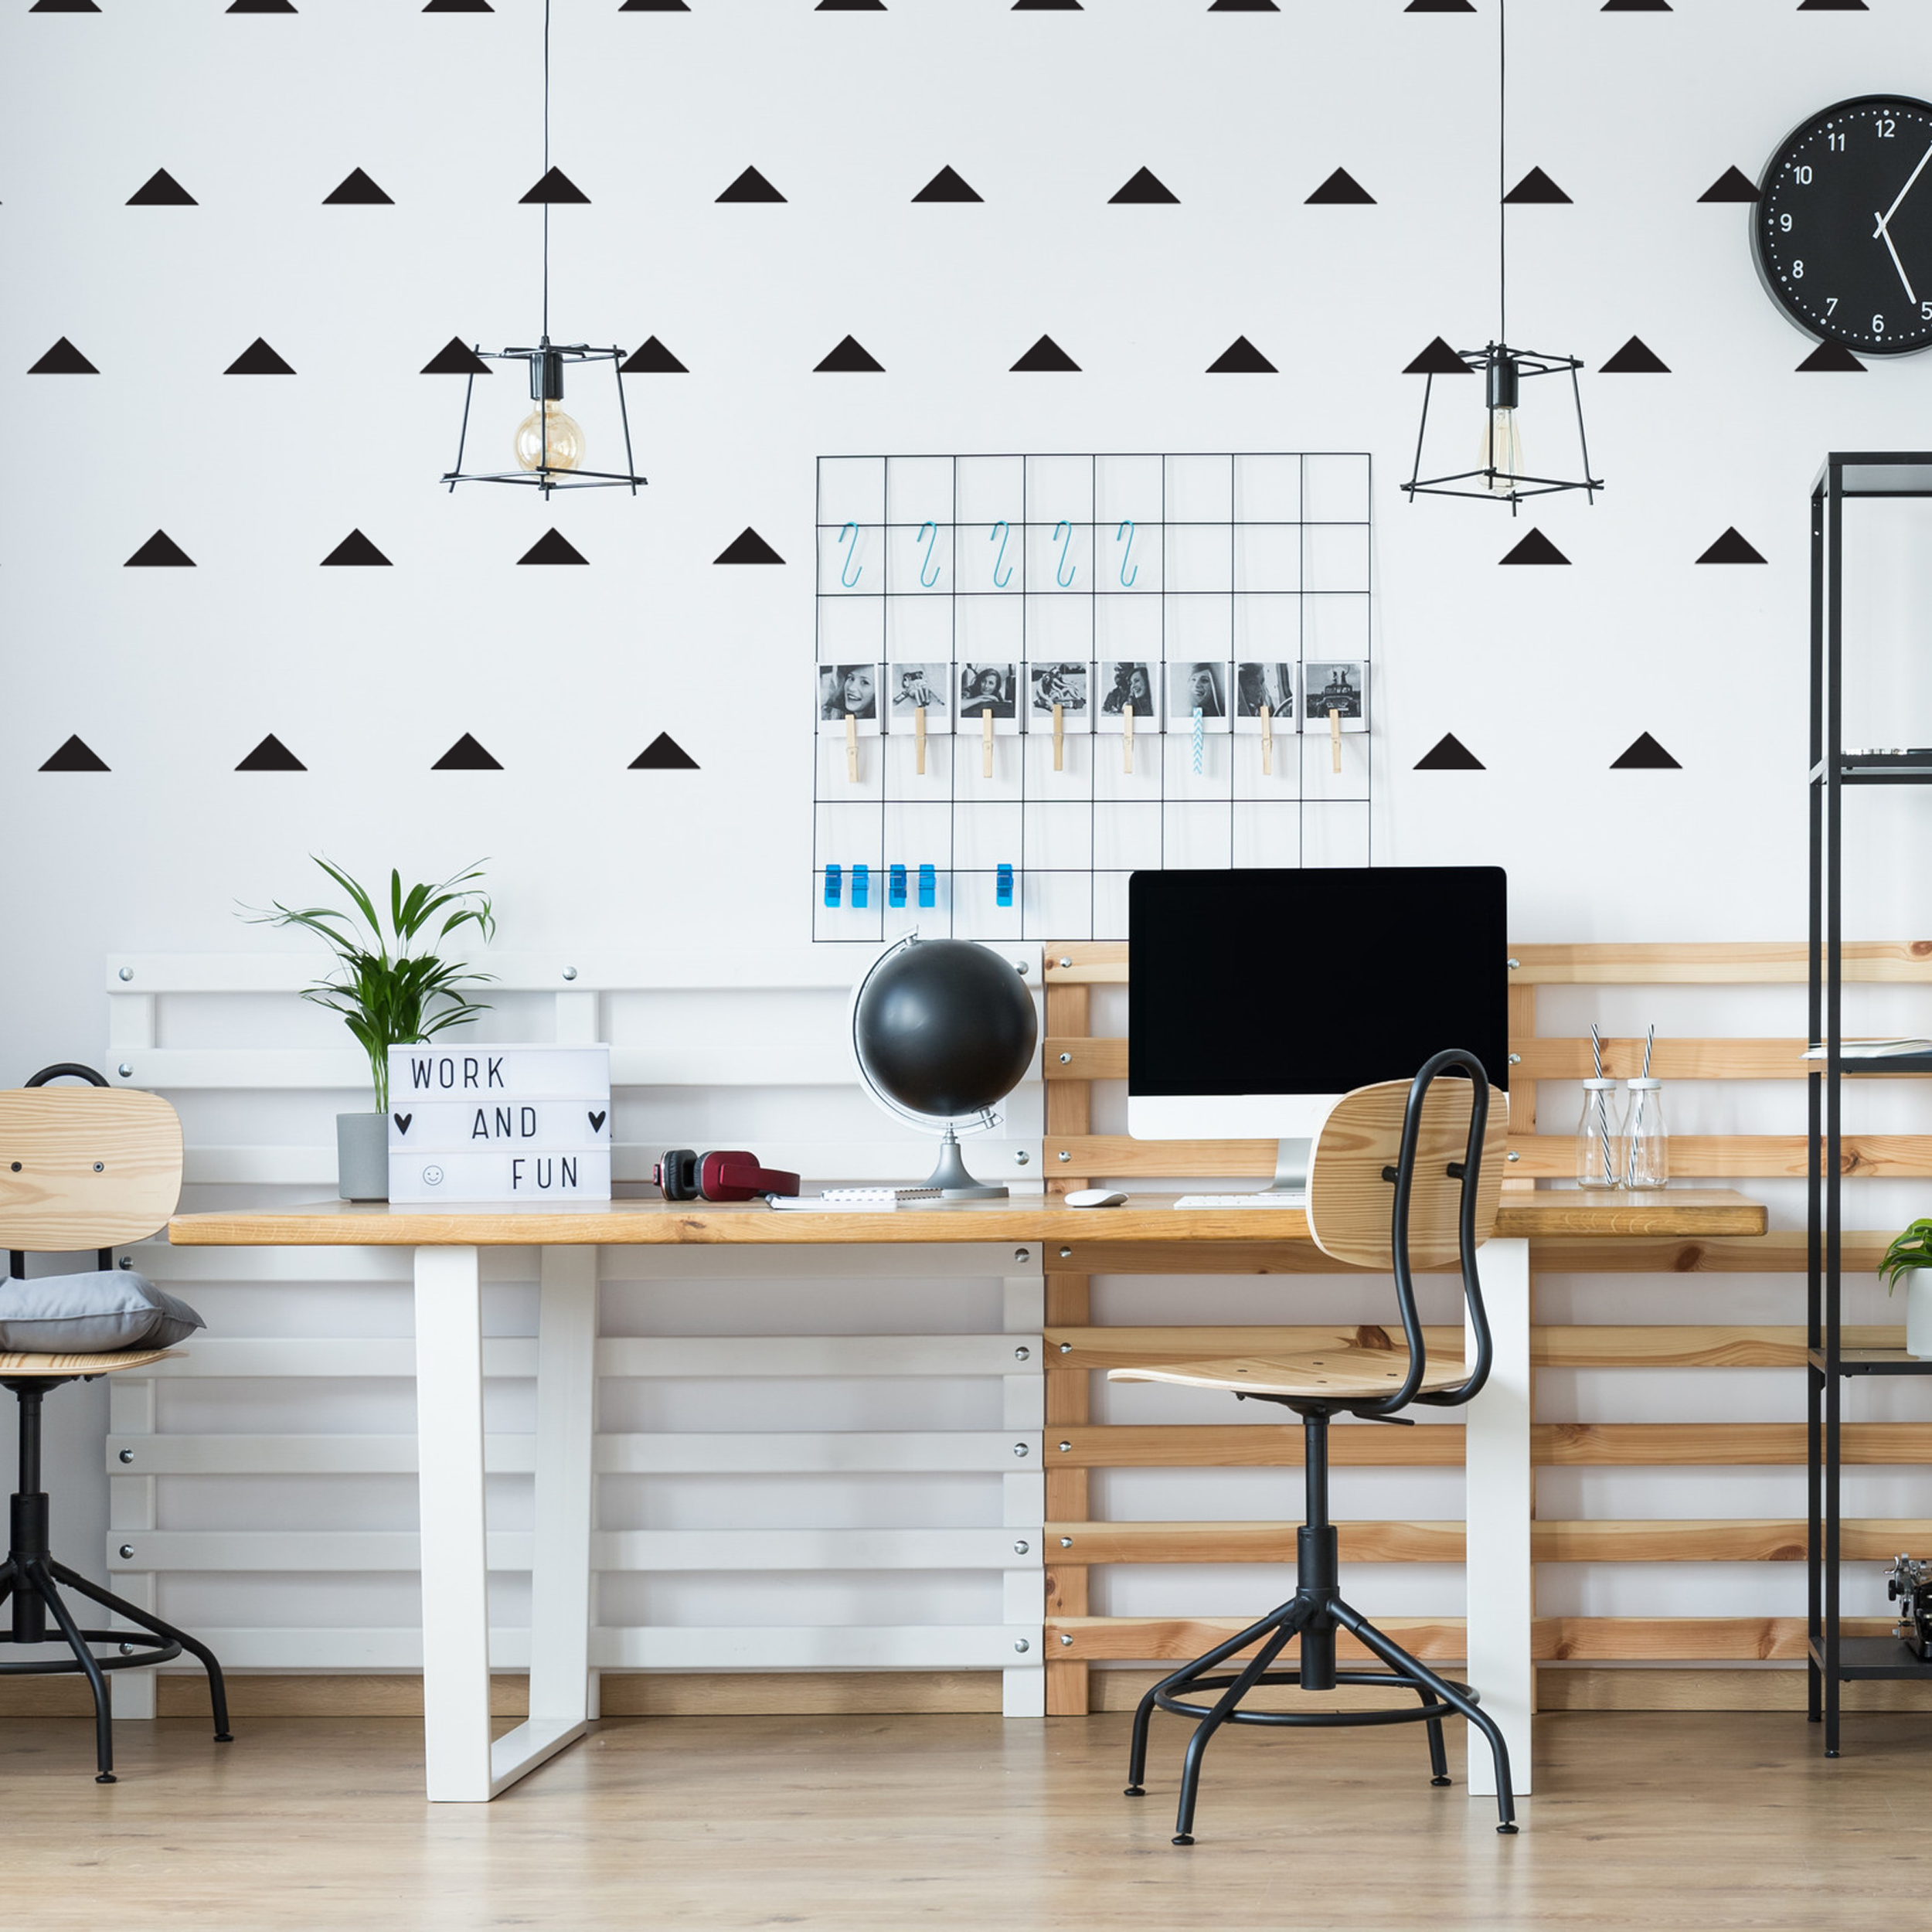
CREATE A STATEMENT WALL WITH FUN-SIZE DECALS
Hello Lovelies!
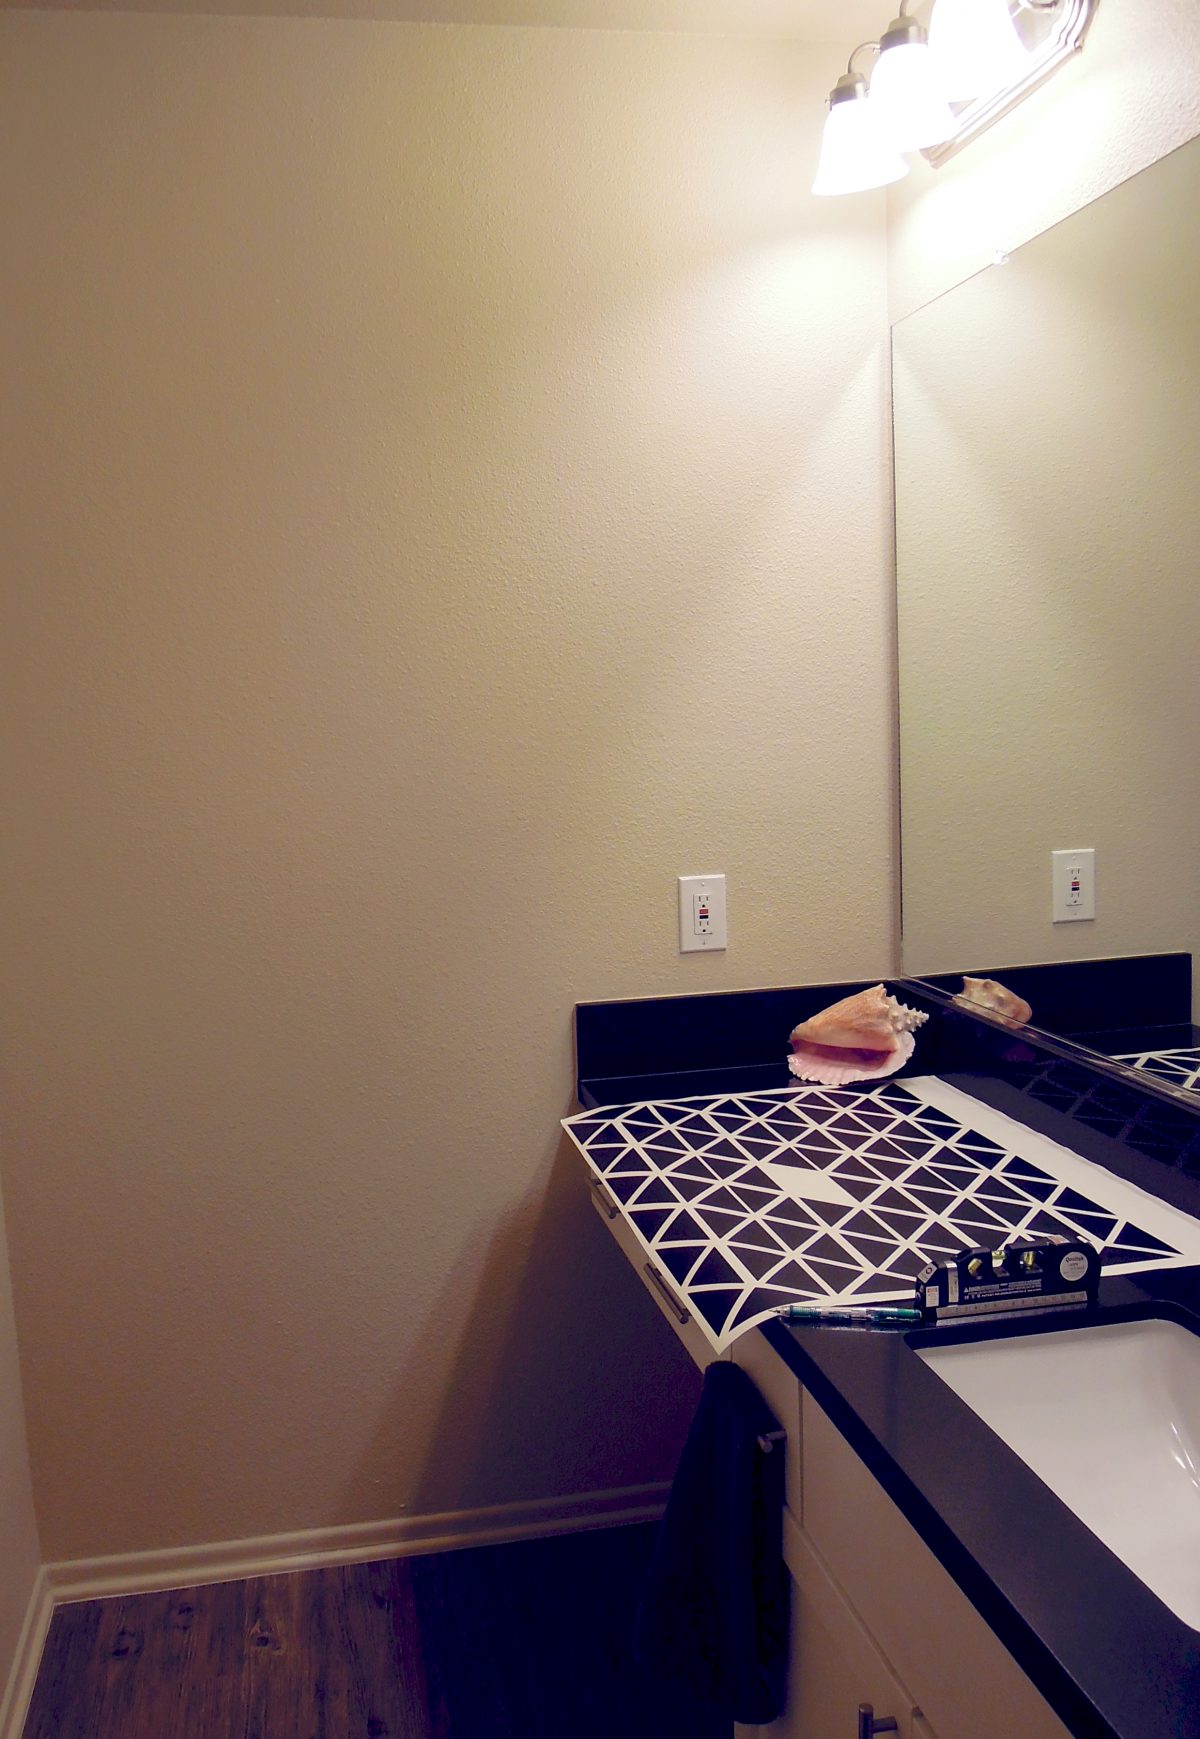
We’ve had quite a few customers ask for instructions on how to create a pattern with Fun-size Decals, and let me tell you it is EASY but it does take a little bit of time. Last Sunday afternoon We tackled Our friends bathroom Wall in his brand new apartment. He wanted to use Our Golden triangle decals but in black to create a statement wall.
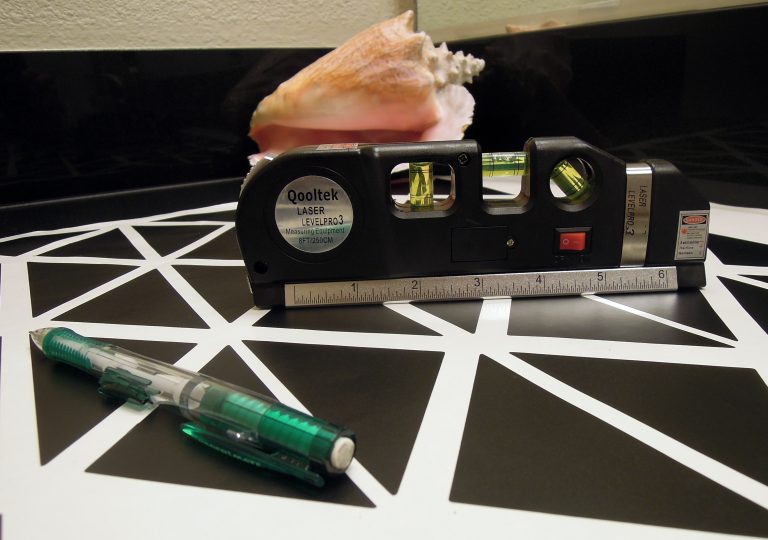
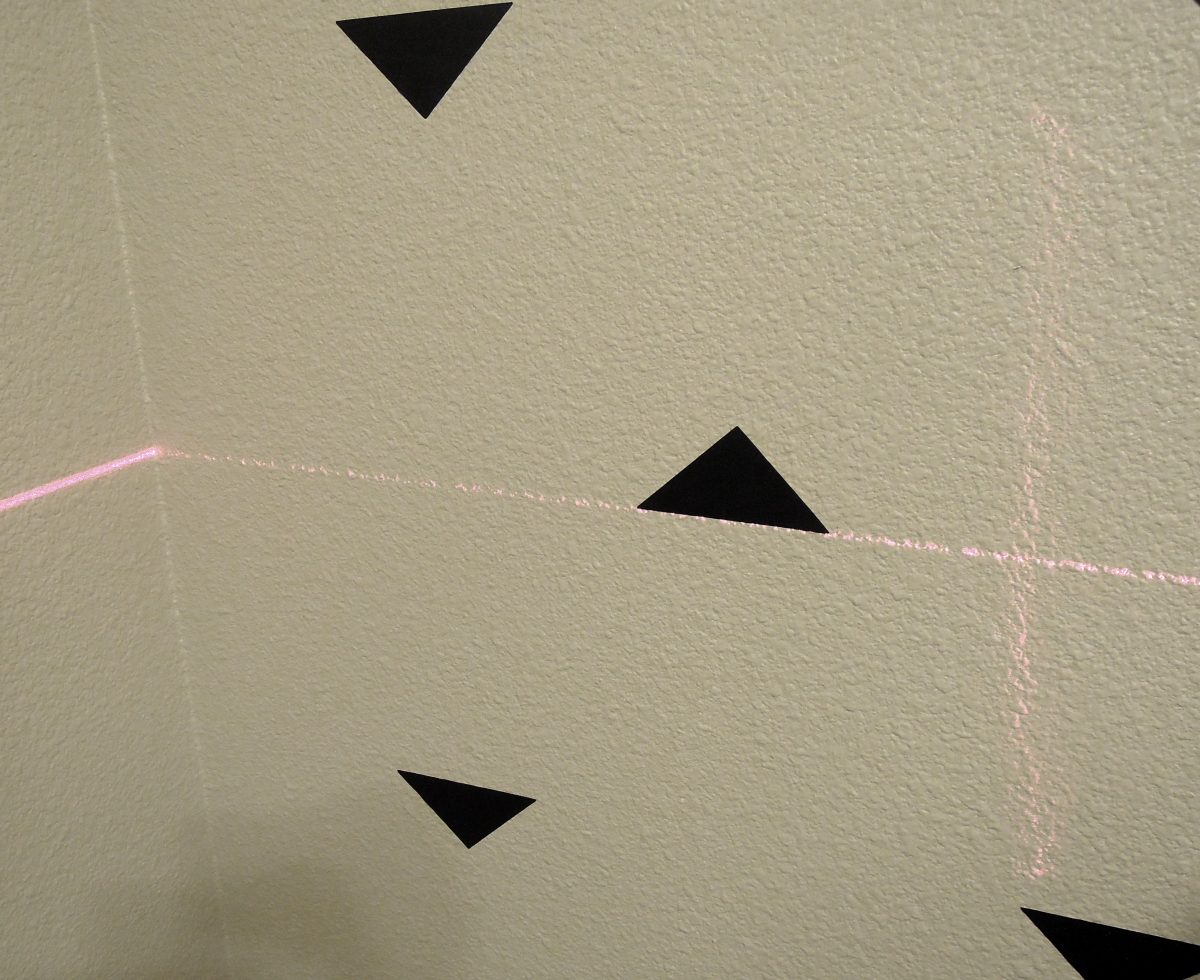
If you want to create straight lines (a tiled look) in the pattern, We recommend using a laser level, measuring tape and a pencil. We started by deciding how far apart We want each triangle decal to be. He wanted them spaced rather far apart so We decided that each decal would be about 8 inches from each other.
The Tools We Used
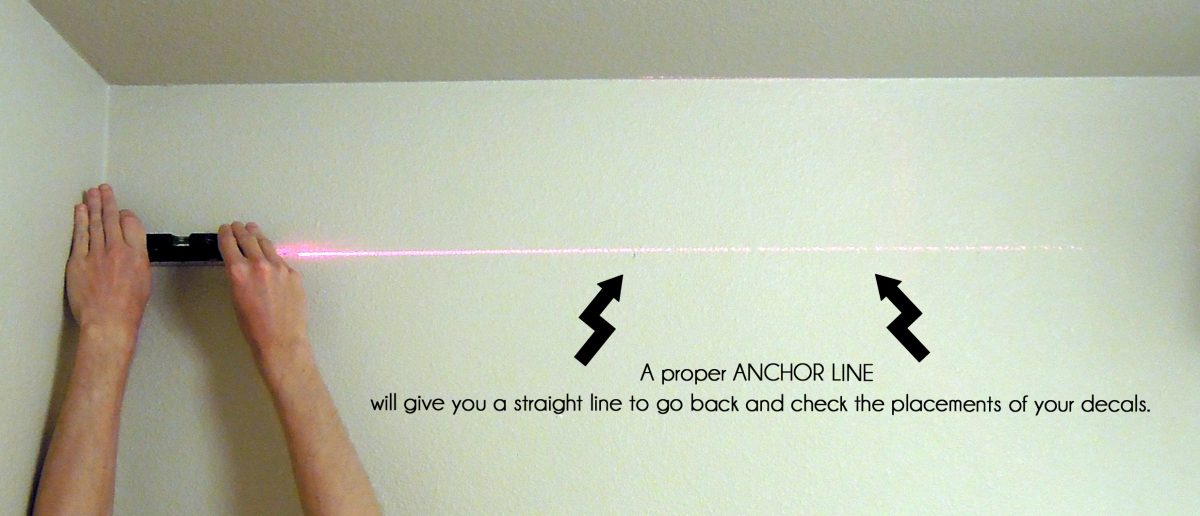
Step 1: Start by measuring 8 inches (or your desired distance) from the ceiling on either side of the wall. Place pencil marks in each corner. Use a level to ensure that the two pencil marks create a straight line. We will call this your anchor line. If your ceiling is slightly sloped you can forego measuring from the ceiling and create your own anchor line using the level.
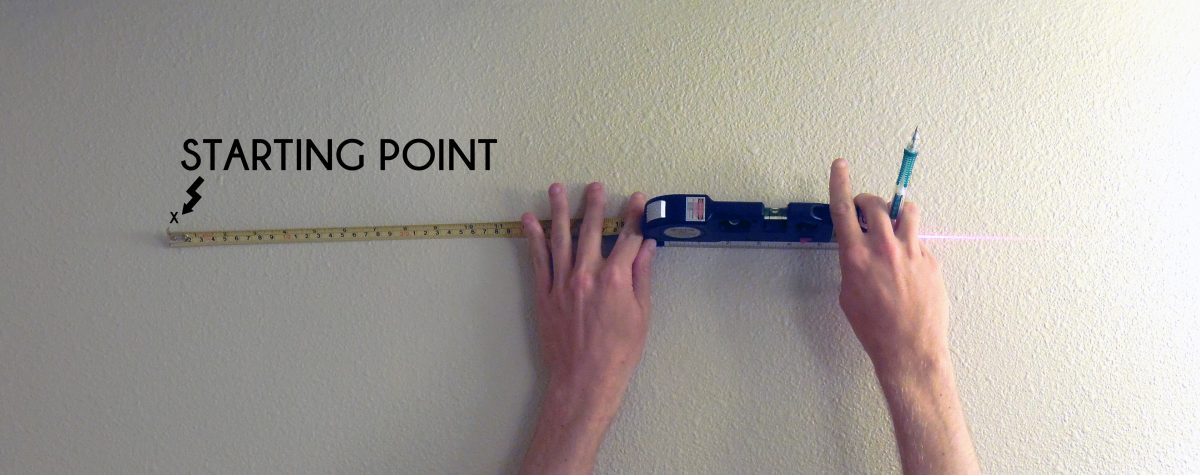
2. Measure 8 inches in from the left corner on Your anchor line and draw a small X. We will call this the starting point. This will be where you place your first decal.
3. Then measuring from the starting point place pencil marks in 8 inch intervals (or your desired spacing). Continue to check the line with the level to make sure they are straight… When you are finished marking the first row, apply the decals over each pencil mark.
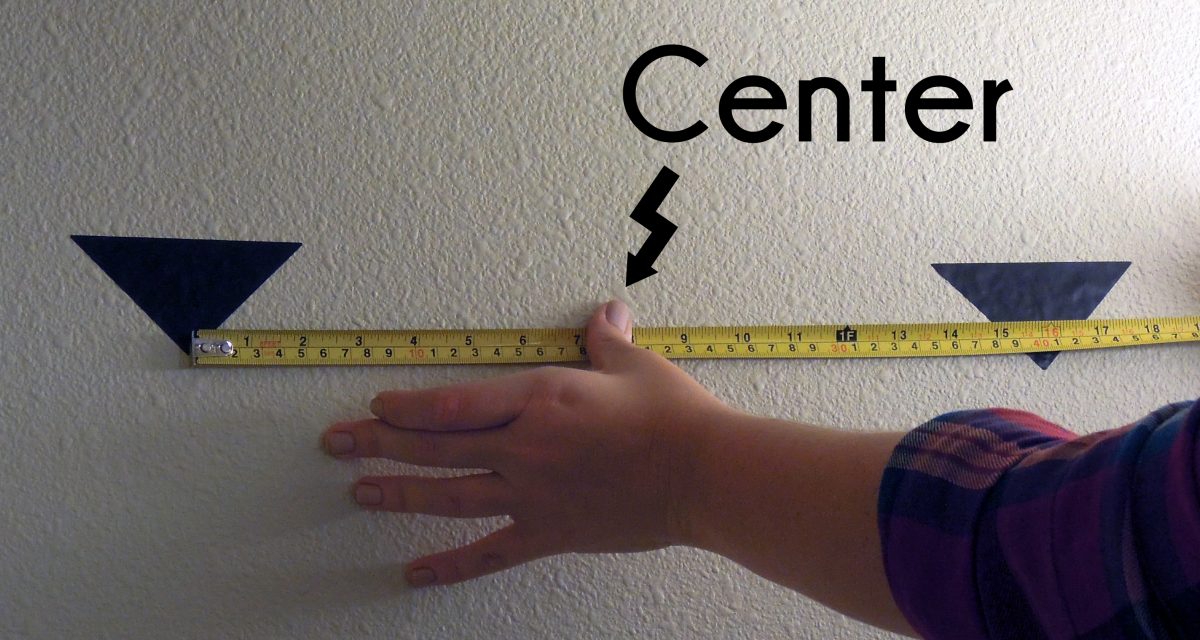
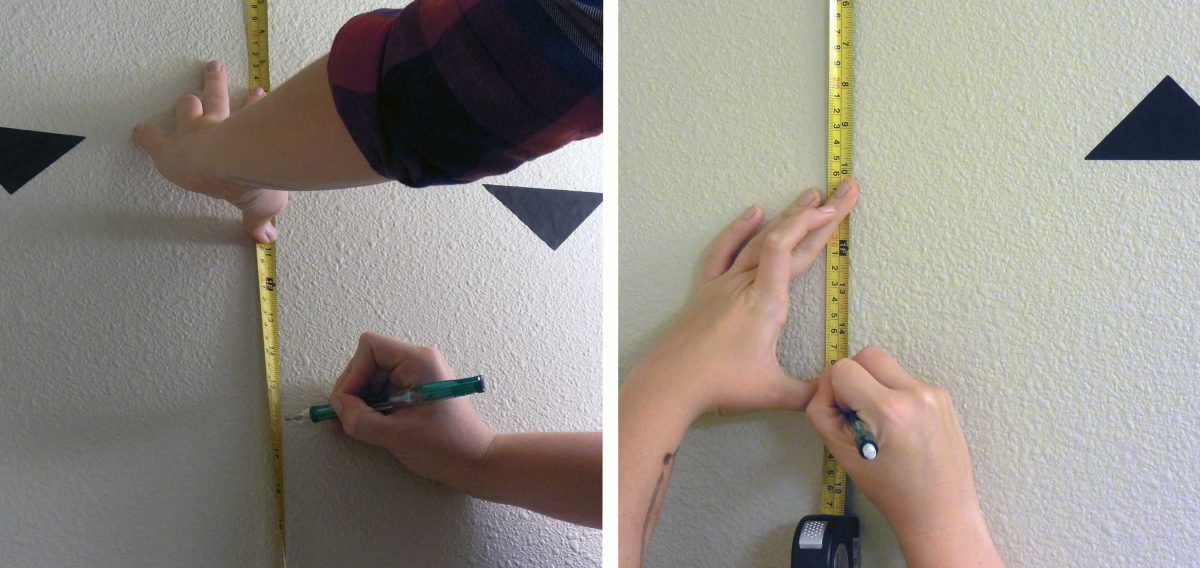
4. Find the center between each pair of decals and measure down 8 in, this will give you the Second row. Make sure to check the the placement with your level. Apple the decals in over each pencil mark
5. Repeat step #4 to create marks for the third line. You can also measure down 16 in (2x your desired distance) from each decal on the anchor line to create your third row of decals.
6. Repeat steps 3, 4 and 5. Moving from top to the bottom of the wall.
7. For the corners We cut some triangle decals in half and applied the pieces to the corners in every other row. This gave the wall a more finished look.

The bathroom wall before, and with the decals. What a Difference!
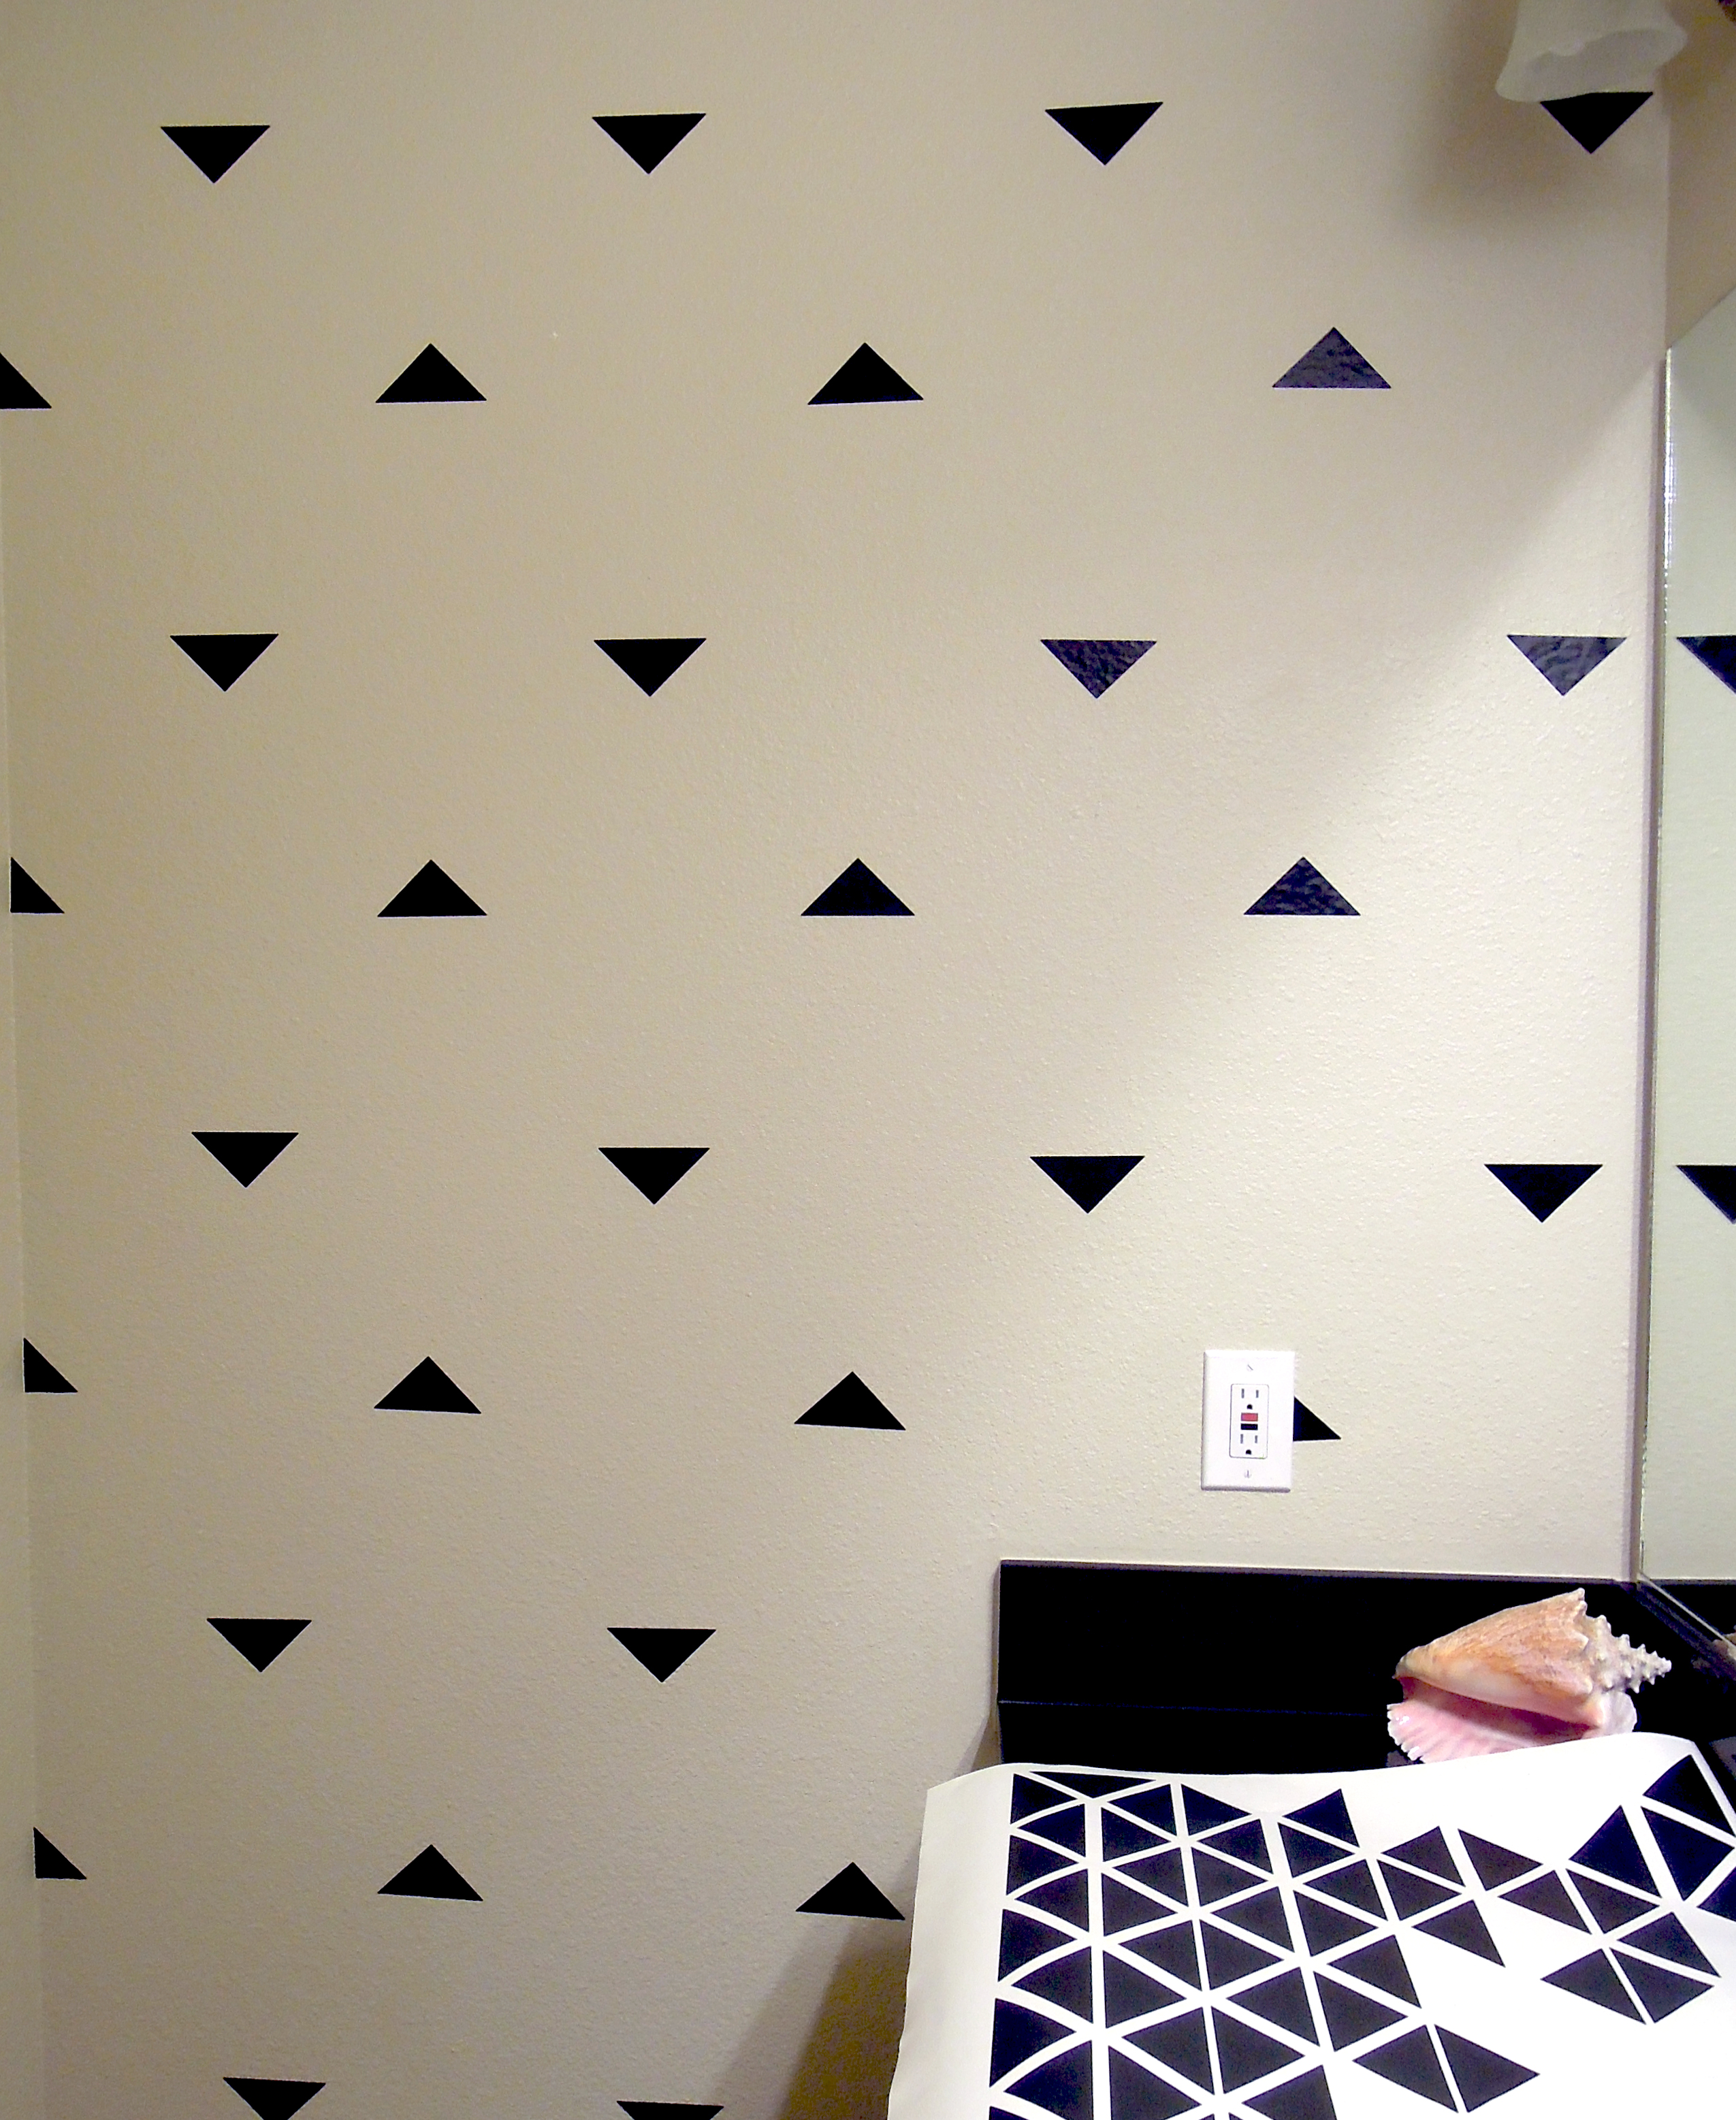
You will notice We filled the entire wall and have a lot of triangle decals left over. We may just save them for some craft projects!
If you would like a more random pattern you can simply peel the decals and place them wherever you would like! Make sure that your wall is free of dust and oil. If you have freshly painted walls wait 3 weeks before applying decals.
Find Our Fun size decals here