HOW TO APPLY OUR PRINTED PEEL & STICK DECALS
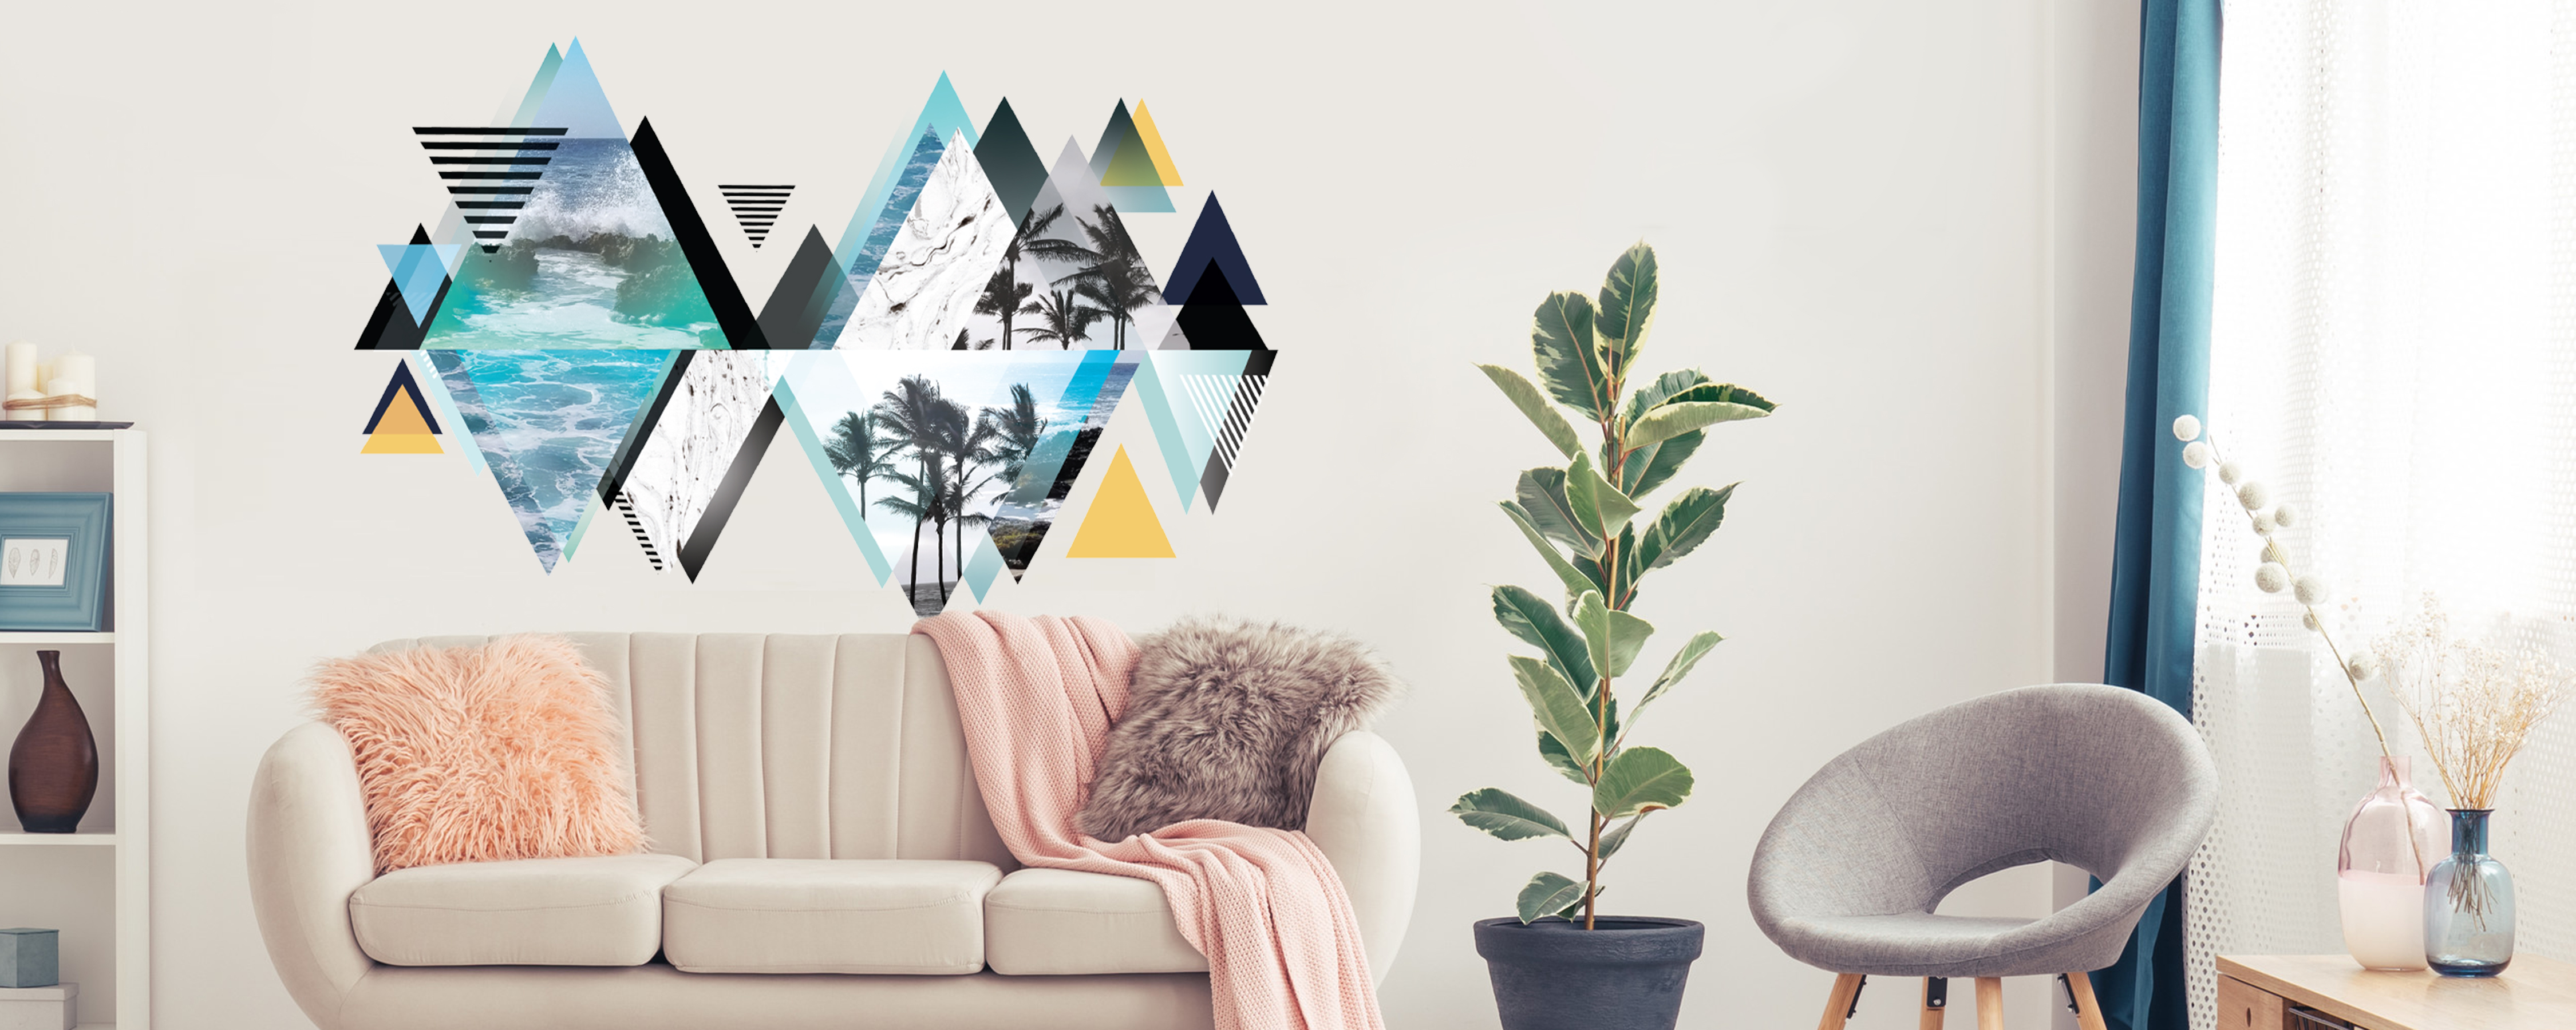
Peel and stick wall decals are a great way to liven up a new nursery, home office, or kids room. Peel and Stick Decals are the easiest and fastest way to create an indoor wall mural without the mess and hassle of a failed DIY attempt. Whether you want an "under the sea" themed kids room or a "forest campground" playroom, Peel and Stick Wall Murals are as easy as that, simply peel and stick (with a little preparation of course).
First, gather your tools. You will want a clean sock, cotton glove, or a clean hand, a clean rag and a mild detergent or soap. If you purchased one of our larger peel and stick wall murals a laser level or traditional level will come in handy to make sure the decal is straight. A measuring tape will also be helpful if you want it to be completely center on your wall area. If your decal is one of our peel and stick decals that comes in multiple pieces a pair of scissors will also be useful.
For best results make sure to clean your wall with a drop of mild soap and a damp rag, make sure to give the wall plenty of drying time, peel and stick wall stickers will not stick to a wet wall. Peel and stick decals will adhere to almost any smooth surface but if your wall is dusty, they will stick to the dust and grime before they have a chance to stick to the wall. Also If you have recently painted that new nursery, kids room, or kitchen make sure to wait a full three weeks before you apply your peel and stick decals. Even after the paint is dry to the touch, paint continues to release gas for two to three weeks. This is called “gassing”. The gasses released can cause a chemical reaction with the peel and stick decals adhesive. This will compromise the adhesive, so be patient and wait those 21 days.
The majority of our peel and stick decals can simply be peeled off the backing and applied to the wall. If it is a larger or more complicated decal, you may need an extra set of hands to help out. Before you apply your peel and stick decal we recommend testing a small section or tester decal in an area that is out of sight, possibly in a corner or a closet. We will happily send a small sample peel and stick wall decal to our customers in the United States upon request.
Since Our printed peel and stick wall decals are printed on an adhesive vinyl fabric they are reusable, repositionable, and easily removable. When you are applying your decal If it is not quite right, maybe it is not straight, or maybe there is a small bubble, simply peel off the decal and reapply. Be sure when applying the decals to work from the top to bottom and from the inside, to the outer edges of the Peel and stick decal. This makes it easier to avoid bubbles and any creases that may pop up when applying the wall sticker. Make sure once it is applied to gently press around the edges of the peel and stick decal to guarantee adhesion of the edges.
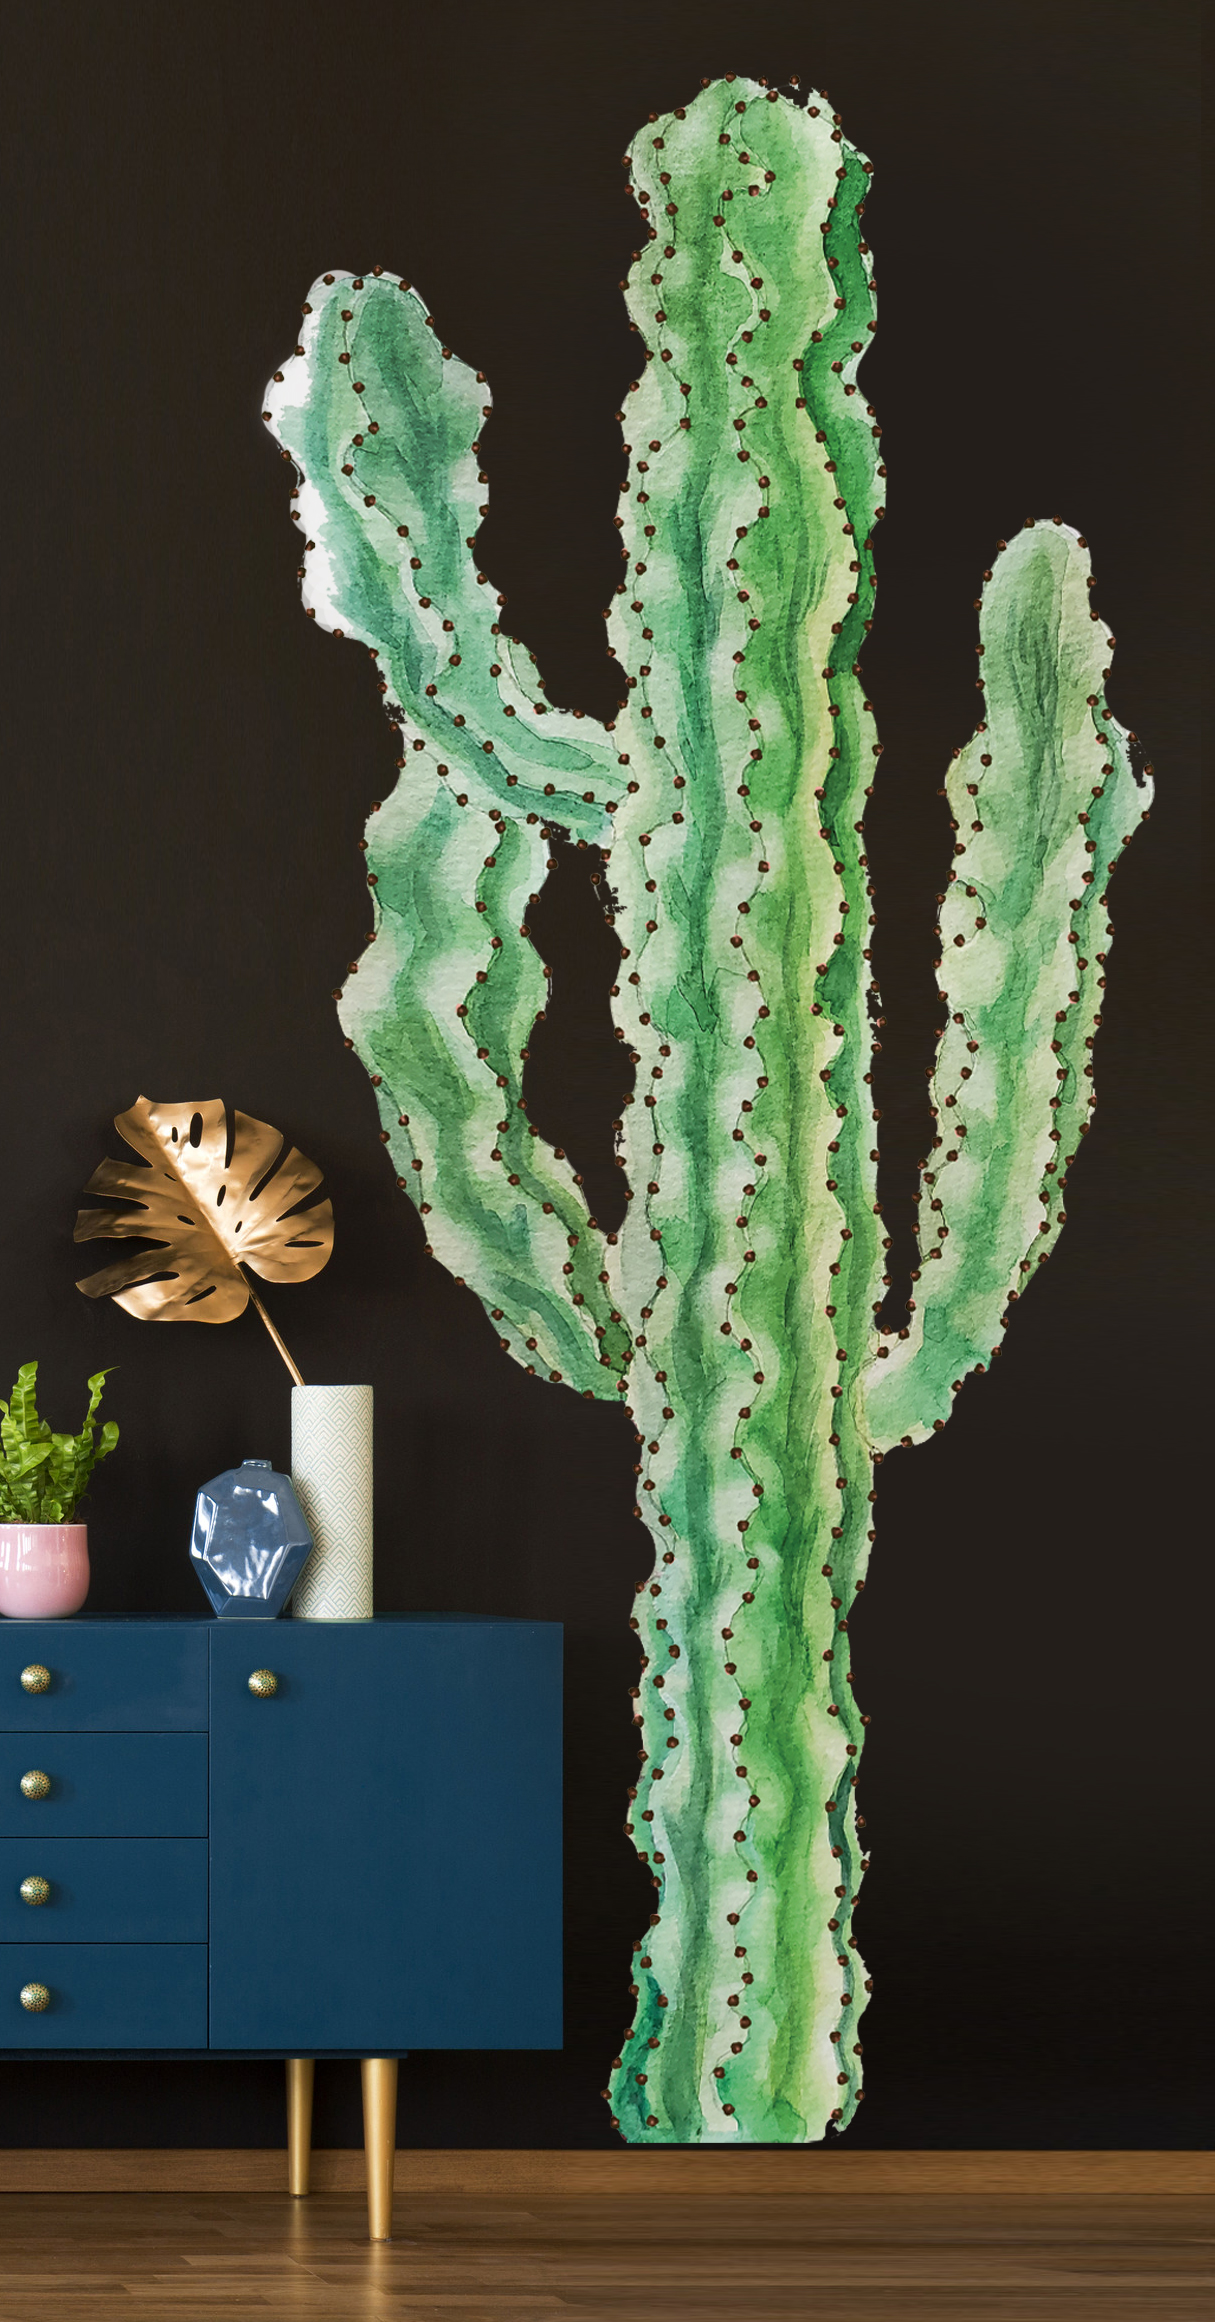
Some of our peel and stick decals are a bit complicated.For instance our peel and stick trees are in multiple pieces, and allow for an overlap. Feel free to cut the backing around each individual decal if you prefer to work with smaller pieces. To make installation of our larger or more complicated decals a bit easier follow these steps.
To start clear an area so the decal can lay flat for a bit. Our peel and stick decals are shipped rolled up in brown kraft tubes so the material will be slightly curled up when you receive your package in the mail. Once the peel and stick mural has flattened out a bit, flip it over on a clean surface so the face or picture is facing down. Peel away part of the backing at the top of the decal, peel away the backing so you see about three to four inches of the back of the wall decal (adhesive side).
Here comes the fun part! Place the decal on the wall of your choice. Using your hands rub the decal into the wall, working from the center to the outer edge. We like to call this the installation lip, Starting with applying the top three or four inches allows you to easily remove and apply the lip to ensure the peel and stick decal is straight and right where you want it.
Once the installation lip is in a great place, grab that clean sock or cotton glove. Put your hand (that will rub the decal) in the sock or glove and start slowly and carefully peeling the backing off from under the decal with your bare hand, while gently rubbing the peel and stick decal into the wall with your sock covered hand. Again work from top to bottom and inside out. You don’t need to use a lot of pressure, be gentle. Continue with this process until the entire Peel and Stick Decal is applied to the wall.
Ta daa! Your decal is applied! Take a step back and make sure its exactly how you want it. Like we said before, these wall decals are repositionable so you can make adjustments if you prefer. Once you love exactly where it is rub over it one more time for good measure with the sock puppet hand.
Our printed peel and stick decals are reusable if you treat them right. Make sure to keep that backing! If you ever move the decals you will want to apply them to the backing while transporting them. The quickest way for them to loose their stickiness is to allow dust to get to the adhesive, repaying them to the backing protects both the images and adhesive so you can use them over and over again.
Have more questions? Feel free to email us at info@chromantics we’d love to help!