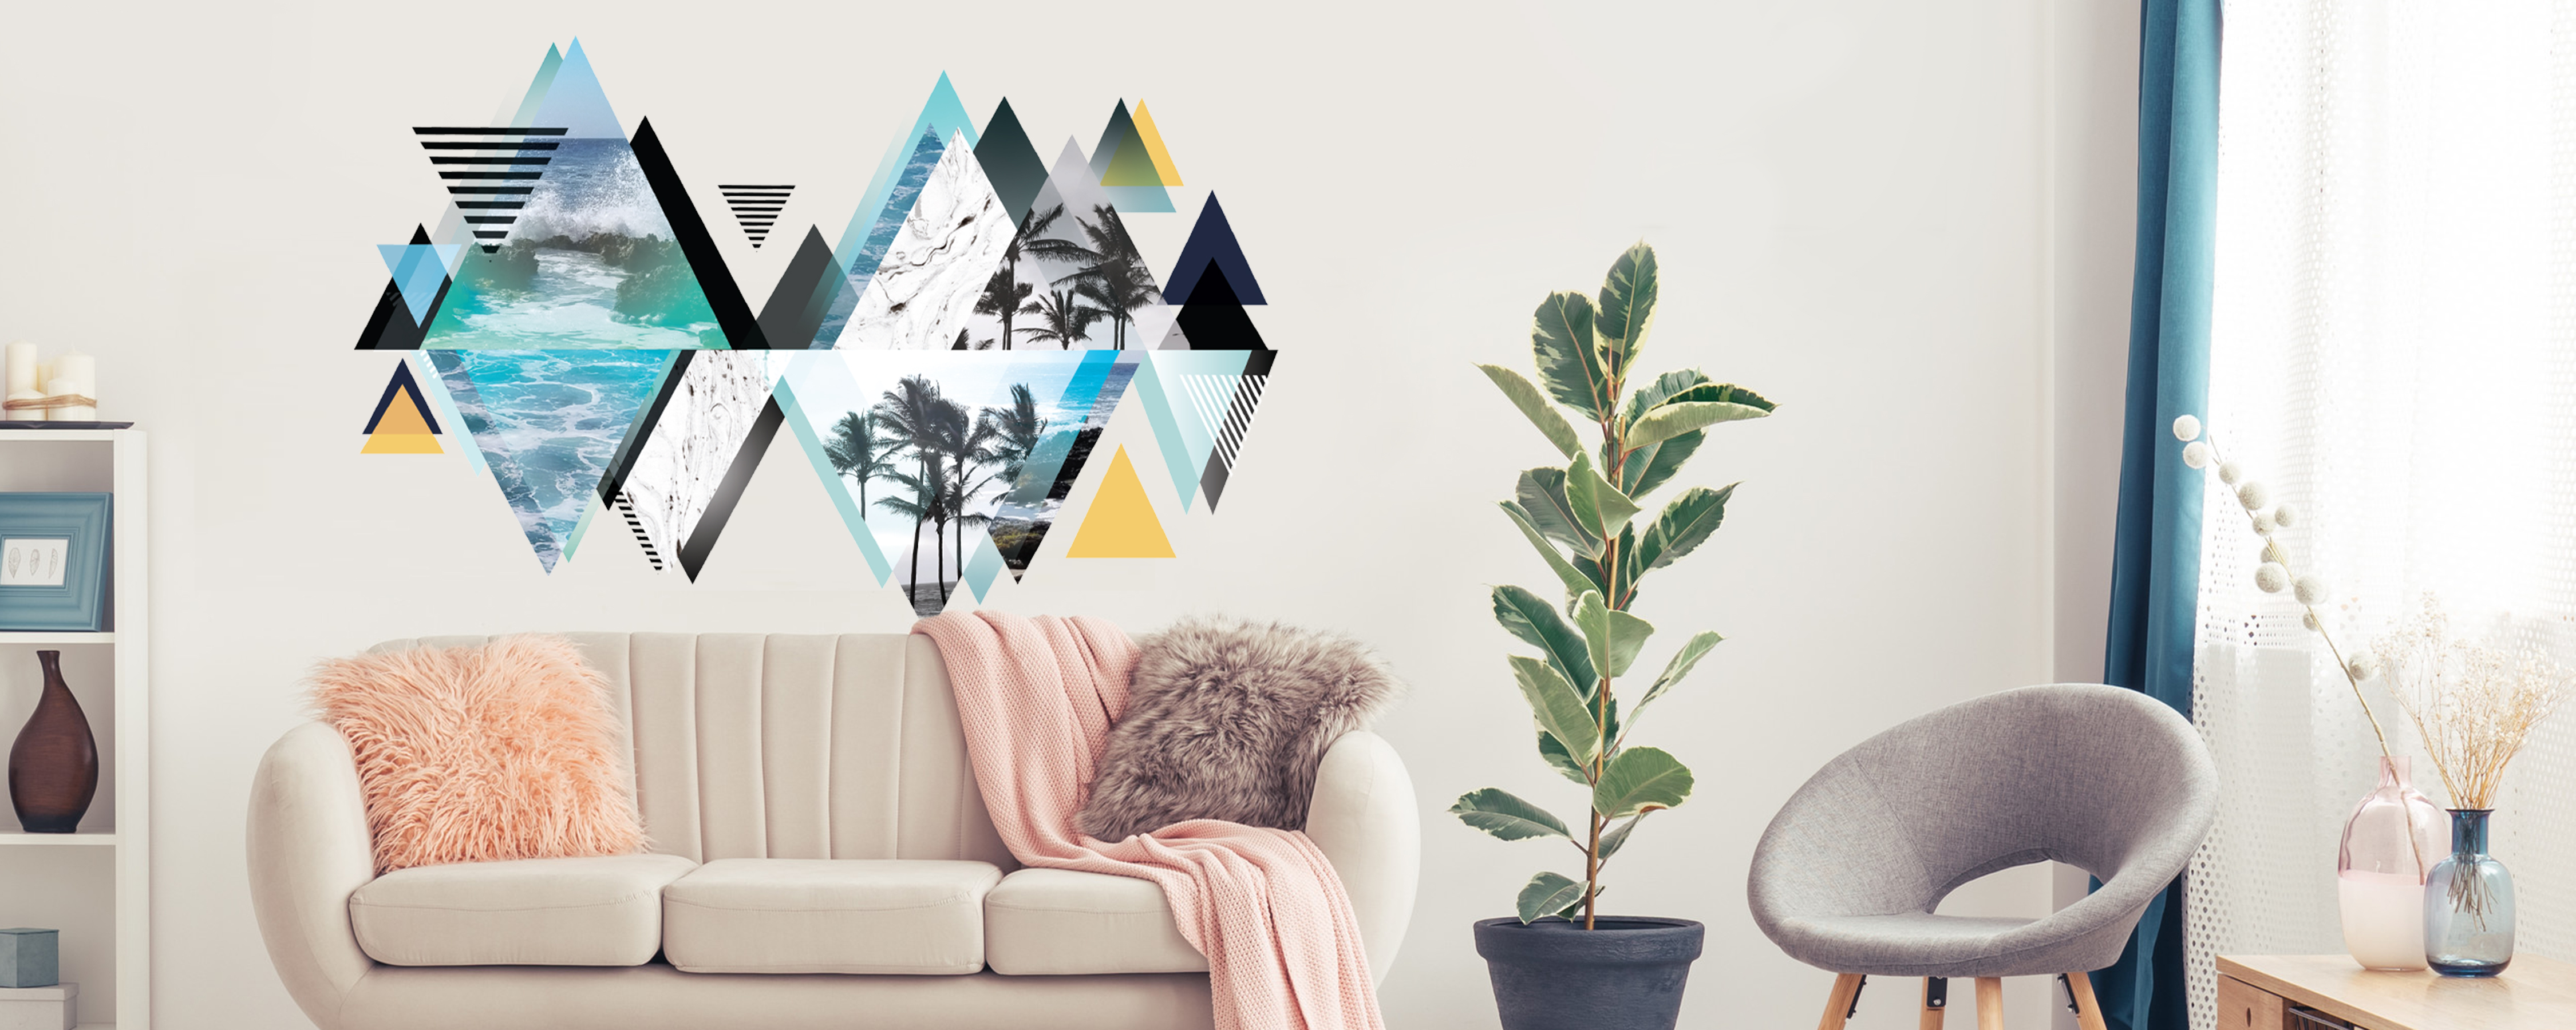
Pretty Painted Pumpkins with Decals!
Jul 26th 2018
A Simply and Easy Way to Decorate!
This year we wanted to add a little more color to Our Halloween Decoration, so We skipped the traditional Jack-o-lanterns and decided to paint Our pumpkins and decorate them with Our Decals! this was way easier than carving and there was little to no mess which is a huge advantage in Our Book!
The whole process took about 45 minutes (not including Drying time). We painted the pumpkins in the evening, then let them dry over night. The next morning We all sat down with Our coffee and decorated these beauties with decals! Here is a step by step guide to do the same.
First, go visit the pumpkin patch or grocery store and buy a variety of pumpkins! We bought a couple of traditional Orange Pumpkins as well as a few smaller, more unique ones to give Us a variety to work with. When you get home rinse and dry them, there will be dirt on them and that dirt will get stuck in the paint.
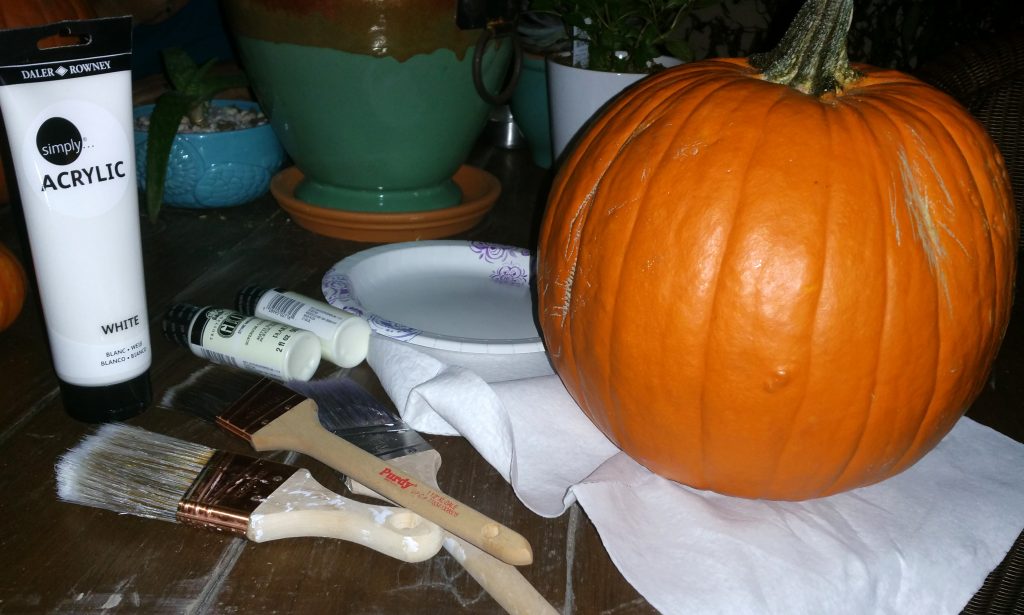
After the Pumpkins were totally dry, We started to paint them! We used Acrylic paint that We had lying around. We’re artists so there is always extra paint in the house. If you need to buy some you can find acrylic paint at any craft store and even Big box stores like Walmart, or Target. You can also use basic Brushes that you would use to paint your walls, These can be found any home improvement store.
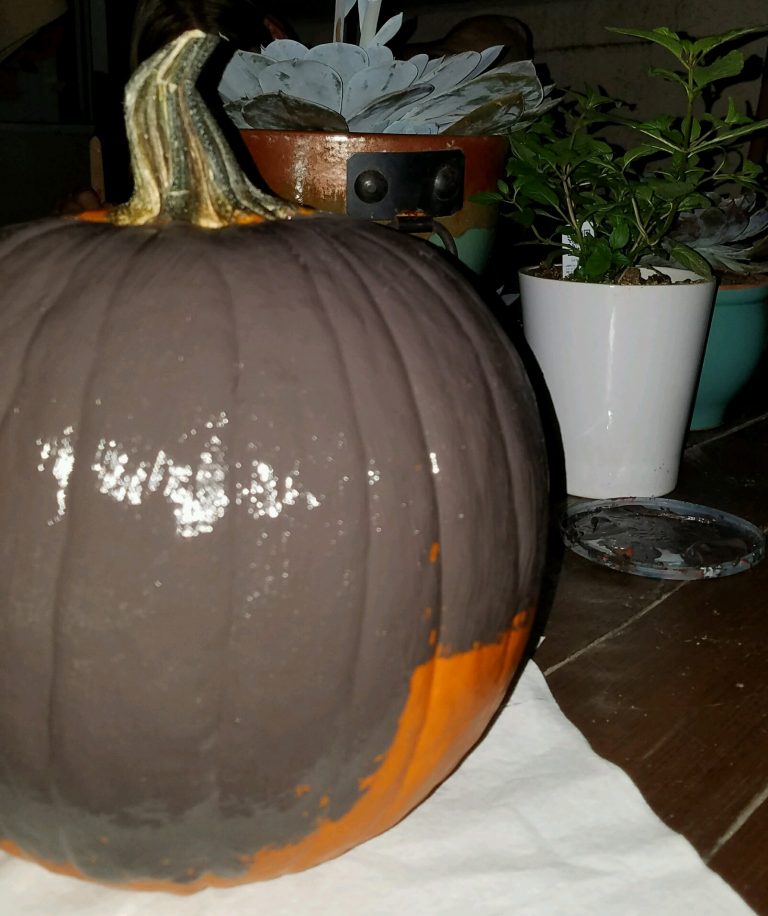
We did two coats of paint for the White Pumpkins, and only One coat for the Charcoal Grey ones. Its much easier to paint with the grain or grooves of the pumpkin so go up and down with your paint brush. Make sure to let the paint dry in between layers, this will make your life easier, We promise! Leave them out to dry for a few hours, before the next step.
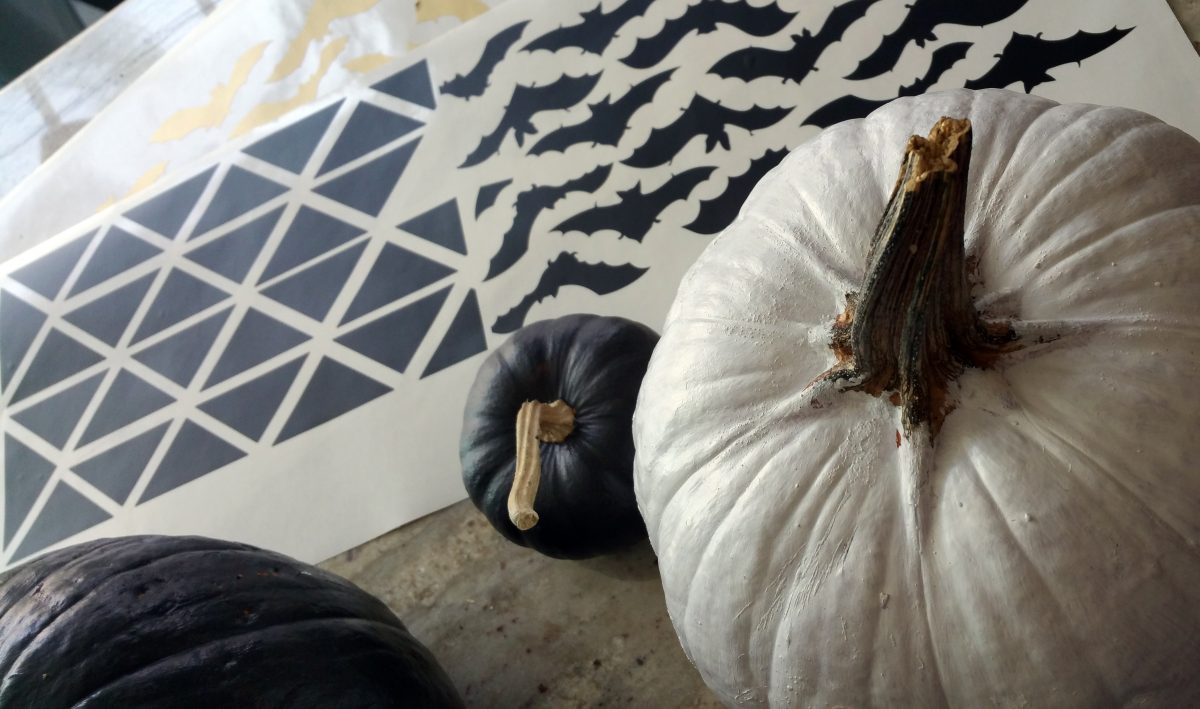
Once the Pumpkins are completely dry, apply the decals! this is the fun part! These decals are from Our Kiss cut section, and they’re super easy to apply! Simply Peel and stick these guys. and scatter them about. When applying them apply pressure in the grooves of the pumpkins so the decals look like they’re painted on
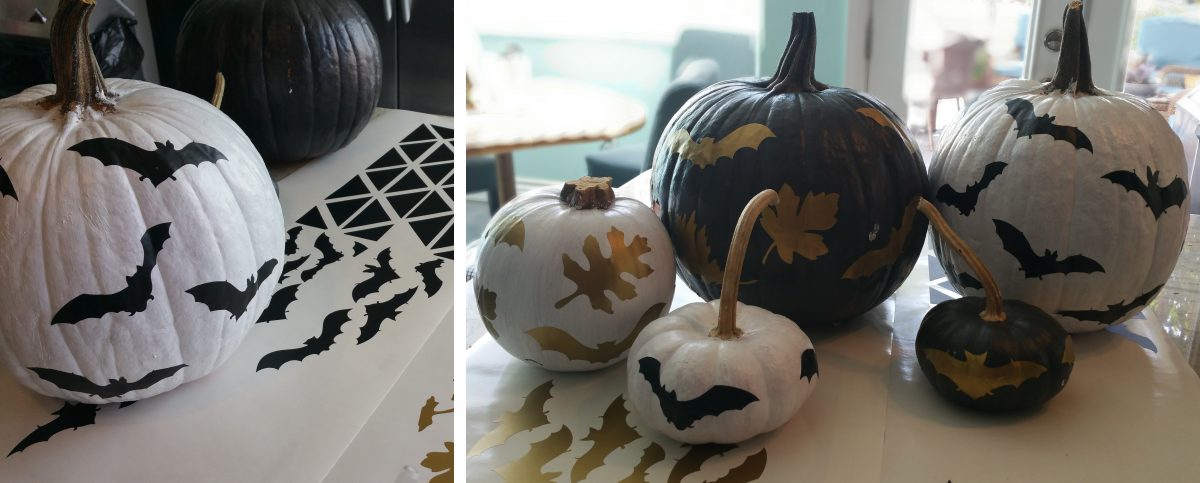
We had a lot of fun mixing the different colors to create a unique design on each pumpkin, which really gives them their own personality! After the decals are applied You are Done! Taa-daa! You now have some very fine looking pumpkins that will last for months!


